Showing posts with label easter. Show all posts

Dollar Tree & Dollar Spot Easter Finds

I ran into Dollar Tree a few days ago to get TWO things for Molly's Easter party and came out with TWO bags. Last week I did the same thing at Target. Dollar Tree and the Dollar Spot at Target can have some amazing things for kids - especially around the holidays. I wanted to share some of these awesome finds.

Non-Candy Easter Egg Fillers

I did not want to use candy to fill Easter eggs for Molly so I tried to find random toys that would fit inside eggs instead. I am quite certain that she will LOVE each one of these. 

I got the Spritz LED Spiky Balls from Target. They come in packs of two and can be found in the party aisle. Molly already has a couple of these and plays with them all the time. Her world will be rocked when she sees what they do inside the egg. The balls will not fit in the small eggs, so you need to get the large ones. It is still a tight fit in the large ones, but it works. When you hit the egg on the ground it glows and it is so much fun. Your kids or students will love them!

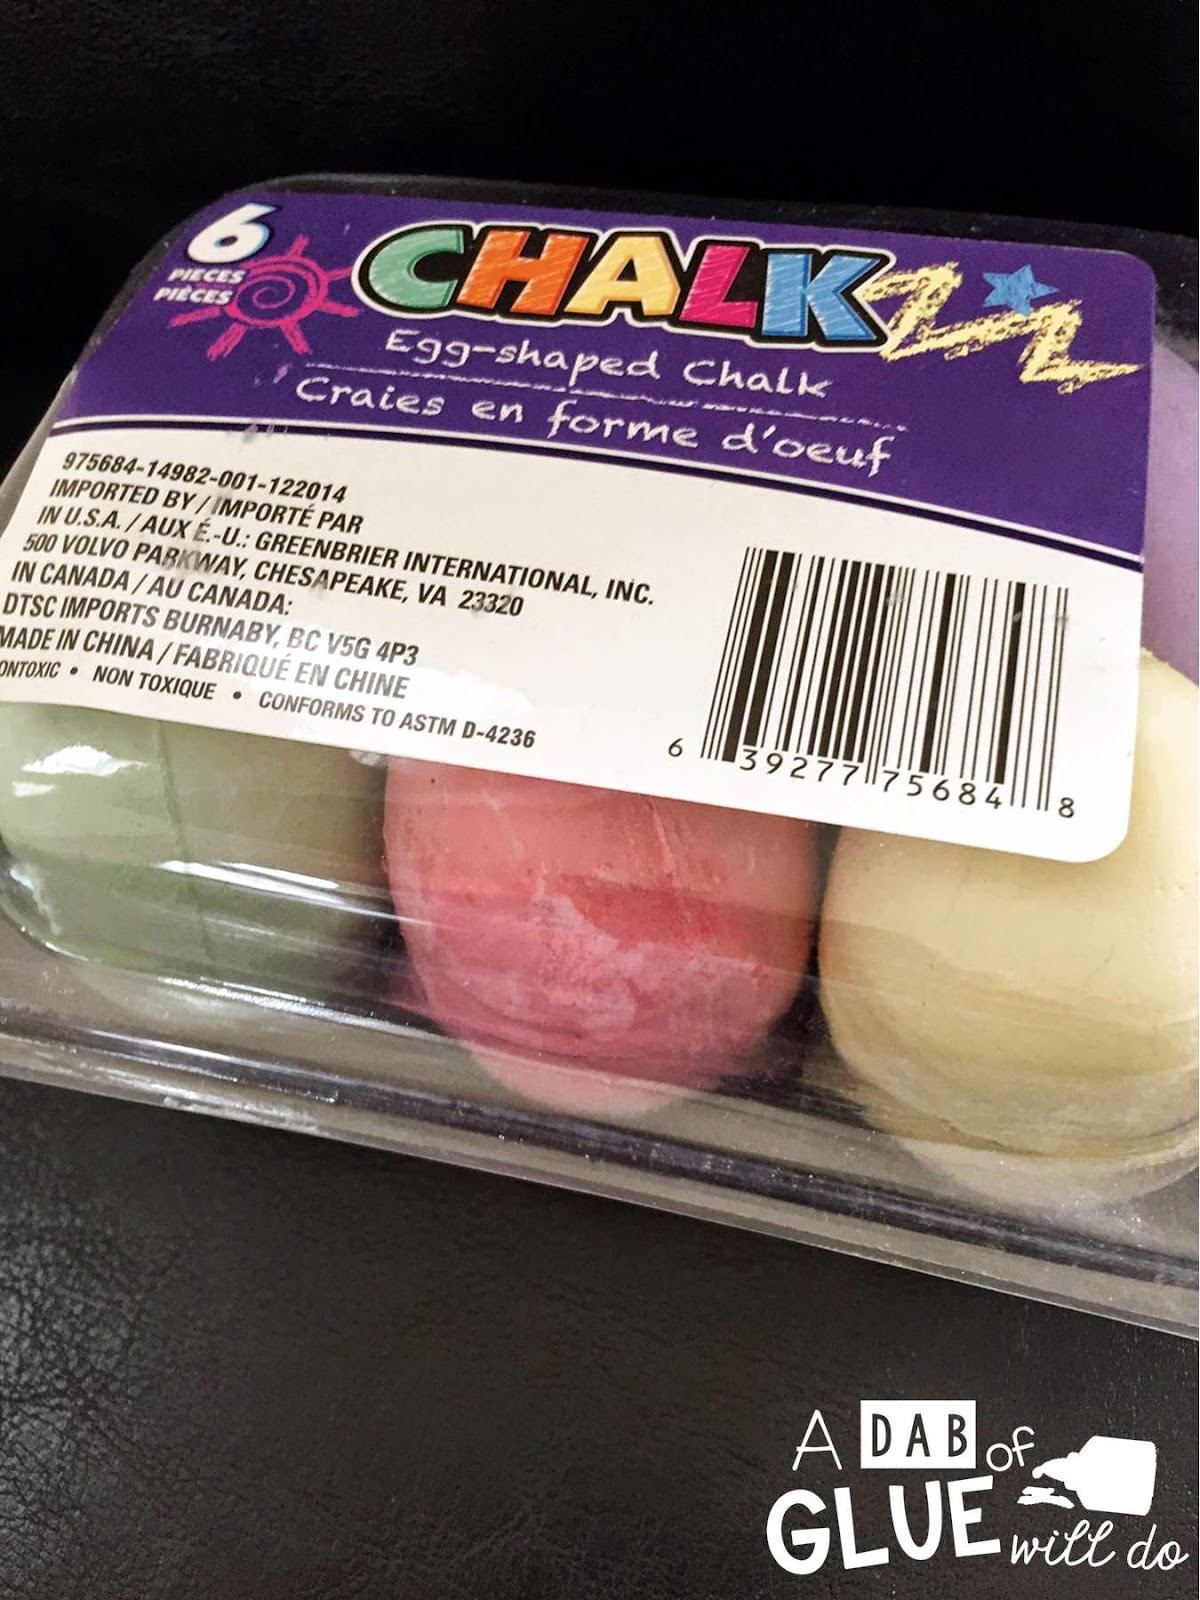
I also got egg-shaped chalk to also put inside the large eggs. Molly loves playing with chalk outside when we are waiting for her Daddy to get home so I am pretty sure that she will enjoy playing with these for a change!
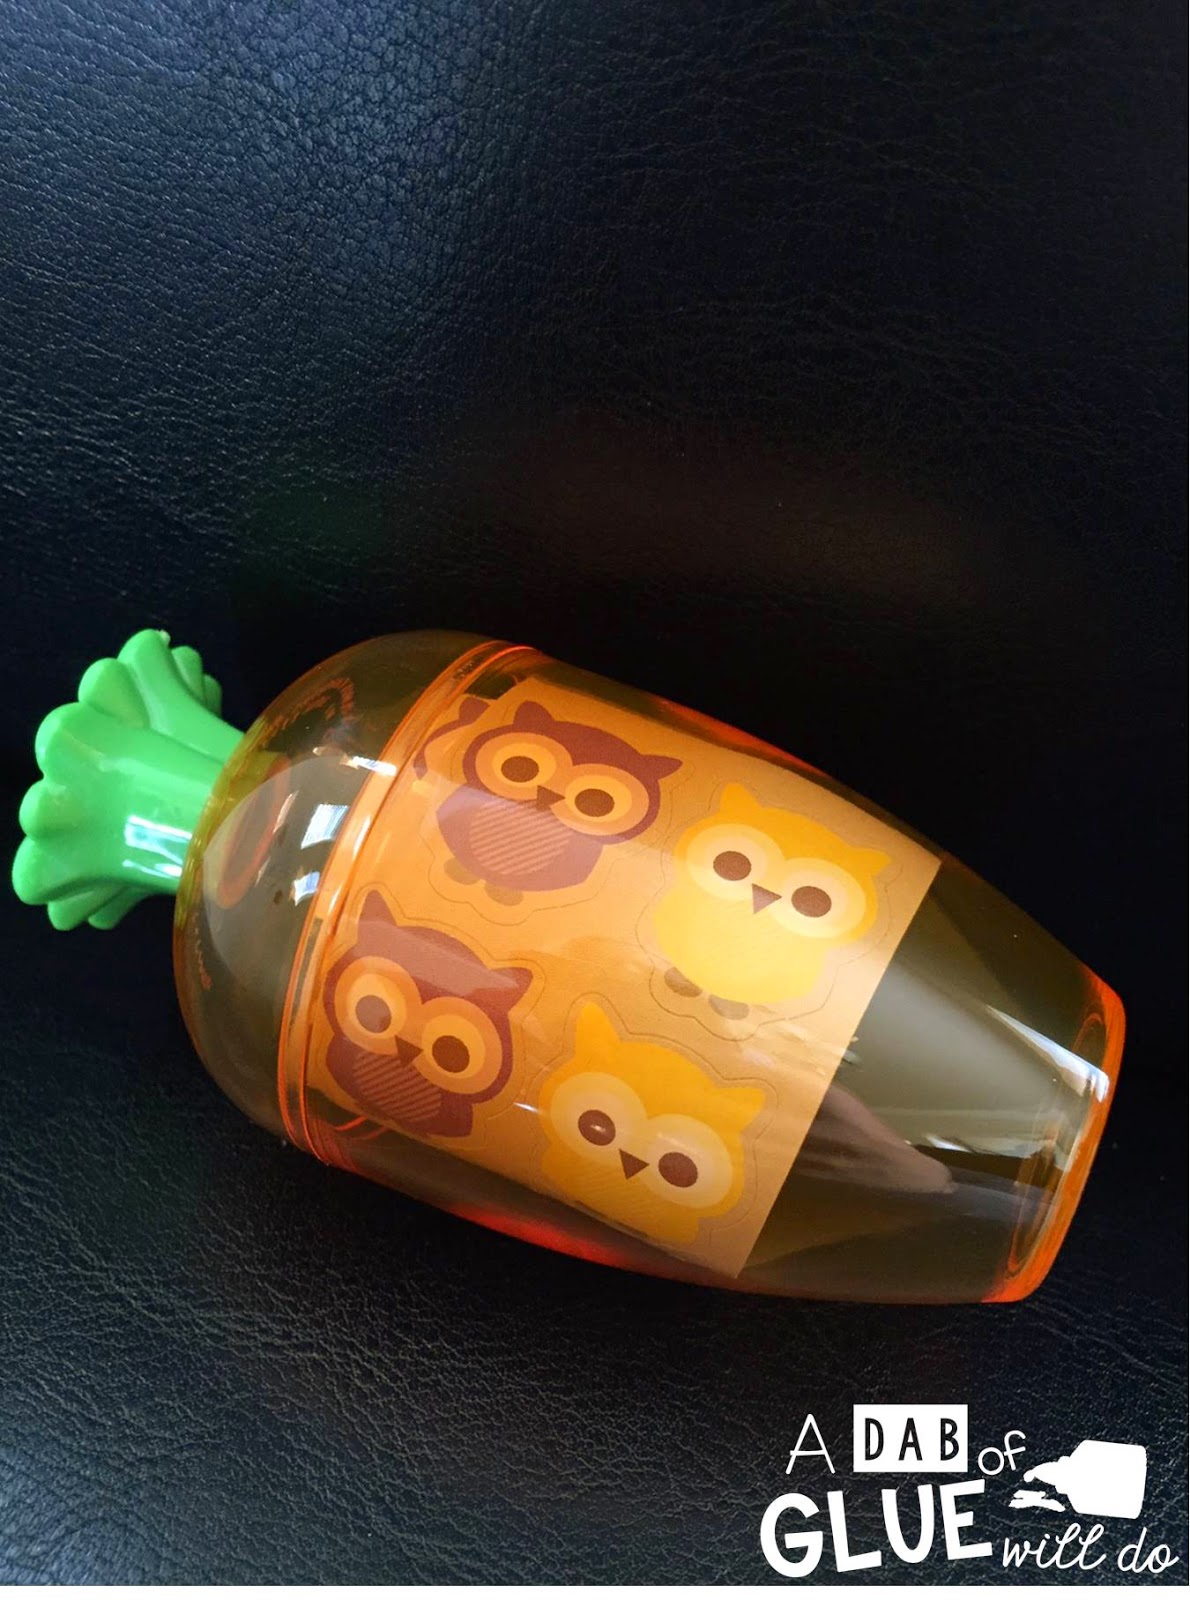
These cute carrot shaped eggs were too cute to pass up and they were only a dollar for a three pack so I would be crazy not to get them, right? I just filled these with random stickers I had around the house. 
Bunny Tracks

The possibilities are endless with these 'Bunny Tracks' from the Dollar Tree. I wrote the letters of the alphabet and numbers one through ten on each of them and taped them on the floor and wall around our house. Molly will just jump around from one track to another. She loves them! If your kids are older you can write sight words on the bunny prints or a math problem and have them come up with the answer while they hop from each one. 

Easter Sensory Bin

Sensory bins are great. They encourage kids to explore and it can keep them busy for an extended amount of time. Molly is still obsessed with her 'Rainbow of Beans' sensory bin from St. Patrick's Day so we still have that one out, but I wanted to introduce an Easter one to her as well. Like I did with the St. Patrick's Day sensory bin, I went to Target Dollar Spot and Dollar Tree to get all of the goodies that go inside. I also threw in some Easter grass and dyed pasta. 


Like with the St. Patrick's Day and Rainbow of Beans sensory bin, I made a label for this one. You can print the label for the sensory bin here. I make labels for everything. I think that it is easier for storing to have a cute label to help keep you organized. It will just mean that next Easter I can go up to my craft/storage closet and grab my Easter sensory bin. It takes some effort the first year, but it is smooth sailing after that!


Musical Egg Maracas

Last year I filled Easter eggs with different objects (rice, coins, beans,etc) and Molly LOVED them, but I never thought to tape spoons around them and make maracas until I saw this! Amazing! I got the eggs and spoons at Dollar Tree and just grabbed random things I had in the craft room for what goes inside the egg. 

What you need:
1) plastic Easter eggs 2) rice, beans, coins, popcorn kernels, etc. 3) spoons (2 per egg) 4) duct tape

 Instructions:
1) Fill the eggs with rice, beans, coins, popcorn kernels, etc. 
2) Tape plastic spoons to the side of the closed egg. {When taping I found it easiest to hold the spoon like this and tape around the top of the spoons}
3) Tape the bottom of the spoons together.
5) Shake your little heart out!

Molly loves music so this was right down her alley. As she was playing with them we talked about how each one sounded different than the other one and it was like that because I put different things in each egg. Another great thing about this is that it can go in her toy bin downstairs and she can play with them whenever she would like, unsupervised. 


Hoppy Shopping, 


Pom Pom Cross Activity

I have a TON of pom poms leftover from when I was teaching and I saw a picture of kids using pom poms as a painting tool so I thought this would be a fun way for Molly to decorate a cross after we read a book about The Easter Story. 

We have been talking about Jesus and the story of Easter using my printables over the past few weeks, but I also wanted a book that Molly would enjoy about the same topic. She loves the Bernstein Bears so I thought that 'The Bernstein Bears and the Easter Story' might be a safe bet. The reviews on Amazon were great so I bought it and Molly and I have been reading it the past few days. She loves it and it! After reading the book all morning, we did to do the craft after nap time. 

What you need: 
1) paint paper 2) template 3) large pom poms 4) clothespins 5) scissors 6) paper plate 7) paint

Instructions:
1) Print off cross template 
2) Clip the pom poms to the clothespins
3) Put a dab of each color of paint you will be using on plate
4) Set pom pom in each color
5) Dab away and paint the cross!

A lot of the painting activities that we do Molly will want to spend no more than five minutes actively engaged in it before she says 'all done', but this activity she could have done FOREVER. She loved it. I do not know if it was the novelty of painting with pom poms or the clothespins or the combination. Either way she was definitely a fan of this. She loved the pom poms so much. In fact, she has been carrying them around ever since (clean ones). She even had to go to bed with them. Ha!


Molly is too young for these, but I made an extension for older kids. You can get five Easter writing paper for FREE on my Teachers Pay Teachers Store.


Hope you enjoy 'pom pom'ing!

Sticky Rabbit Fine Motor & Sensory Activity


I am continuing on with my random Easter crafts and activities for at home or in the classroom. Today I am showing you a sticky rabbit fine motor and sensory activity. It is very easy to get ready and provides hours of entertainment for your kiddos. It is also great because kids of all ages can participate! 

What you need:
1) contact paper 2) tape 3) white & pink construction paper, torn up 4) random craft decorations 5) permanent marker

Instructions:
1) Draw a rabbit onto the contact paper. I printed off clipart that I purchased and used it to trace the rabbit. You can also freehand it or search online for rabbit clipart. There will be A TON of rabbit clipart available. 
2) Tape the contact paper, sticky side out, onto a window.
3) Set the torn up pieces of construction paper out. {and any other random craft stuff you have around the house}
4) Let your kiddo(s) play with the contact paper and decorate the rabbit.

Molly LOVED this activity. She played with it for a good amount of time initially and then she has randomly gone back to it throughout the day whenever she feels like it. We have had it up for a week now and she still enjoys playing with it. I thought considering it was our first time to play with contact paper, it was a success. It will be fun to watch how she evolves with this particular activity as she gets older because she will be able to do so much more as time goes on.


Tomorrow I will post an Easter painting activity that you can do!
Have a great day, 

Magic Eggs Science Experiment

Molly loves all things that involve bubbles so I thought that these magic eggs would be something that would grab her attention for sure! 

What you Need:
1) baking soda 2) food coloring 3) water 4) paper towel 5) bowl 6) dish soap 7) vinegar

Instructions:
1) Pour 1/3 cup of baking soda into a bowl.
2) Get 1 tablespoon of water and add a generous amount of food coloring. 
3) Pour into bowl with baking soda and mix. 
4) Form half of the mixture into the bottom half of an egg shape.
5) Using your finger make a small hole in the dough. 
6) Pour a small amount of dish soap into the hole {the website linked above says 1/8 teaspoon - I just poured a little bit into the hole}
7) Grab the remainder of the dough and form the other half of the egg. 
8) Lay on paper towel and let dry overnight. {I went back after about an hour of sitting and reshaped them a little bit. This was a little easier because the egg had started hardening}
9) Have a small container with white vinegar inside. Place on a pan or inside a larger bowl because this stuff will expand and make a mess. {I filled up a plastic container a little less than half way with white vinegar. That seemed to work just fine}
10) Place the egg inside the vinegar and prepare to be amazed! {You can let your kids play with the bubbles or take the egg out and inspect what is happening to it. 

I made a half dozen magic eggs so that way Molly could have some leftover for her to play with over the next few weeks {assuming she would like it - and she did!}. Molly thought this was the coolest. As soon as she threw the first egg in and it started bubbling over she said "again! again!"  For my little girl who does not like to get her hands dirty, she was having a blast playing with the bubbles and watching the egg disintegrate and expand. I definitely recommend doing this experiment. It was a big success.  

Molly is too young to complete this, but I went ahead and made an observation page for students to fill out when doing this experiment.

Click below to download it for FREE! I have two versions: 1) one that takes up an entire page and 2) one that has two per page that can easily fit into a composition folder for a science notebook. 


Hope you enjoy!


Easter Handrint and Footprint Keepsake

If you cannot tell already, I will be doing a handprints (and/or footprints) for every single holiday. I am a big fan. They are great keepsakes and I find it so amazing to be able to see how much my sweet kiddos grow in between each holiday and year. 

Rabbit Handprint

I found these precious rabbit handprints on Pinterest and thought that they would be so fun to make. Molly loves rabbits {she calls rabbits 'hippity hoppity'} so I thought she would be pretty amazed that we could make one from her hand print.
What you need?
1) pink construction paper 2) white paint 3) pink paint 4) google eyes 5) paint brush 6) marker 7) glue
Instructions:
1) Set out the pink paper that you will be using.
2) Liberally paint one hand with white paint. You will not paint the thumb, just the fingers and palm of the hand.
3) Firmly press painted hand onto paper {you will want to spread apart the fingers in groups of two, making a 'V' shape - look at finished picture above to see what I mean}
4) Let this dry. {I waited a half hour or so}
5) Glue the google eyes onto the hand print.
6) Using pink paint, paint a small line for each ear and a dot for the nose. {look at picture above}
7) Using the black marker, draw whiskers and a mouth. {look at picture above}

The finished product for this is absolutely precious. I love it so much. It was a little difficult trying to get the hand print done just right, but it worked out in the end. I made one for Charlotte too and that was a bit of a nightmare trying to accomplish the hand print, but at least we have a cute keepsake.  Ha! She may or may not have screamed with disapproval as to what I was doing to her the entire time. {whoops!}

Carrot Foot Print

These carrot footprints were another find on Pinterest and thought that they were adorable and had to make them. It was a pretty simple craft and they turned out so cute. 
What you need?
1) paint paper 2) scissors 3) paint 4) green foam paper or green construction paper 5) paint brush
Instructions: 
1) Set out the white paper that you will be using.
2) Liberally paint the bottom of one foot with orange paint. 
3) Firmly press painted foot onto white paper.
4) Let this dry. {I waited a half hour or so}
5) While the footprint dries, you can cut the foam paper into strips. I cut mine quite thin and about two inches long. You can make yours as big or little as you would like.
6) Once dry, cut the white paper around the footprint.
7) Glue the green foam paper to the foot. I turned the footprint upside down and did a generous line of glue at the top of the footprint. I then placed the sticks of foam paper onto the footprint. I then let that dry for several hours. 
I made one for Molly and Charlotte. Molly thought that it was pretty cool that we were painting her foot. Charlotte was less than impressed. At least we have a cute craft to remember how tiny they are and compare over the years. 
That is all for today. I will be posting another fun Easter craft/activity that you can do at home or at school soon. 

Happy printing!

Teaching Kids the Story of Easter

Easter is an amazing time of year. It is a celebration of the resurrection of our Lord, Jesus Christ. It is the time of year when the flowers are starting to bloom and come to life. It is the time of year when people can spend time playing outside again (mothers everywhere rejoice!!!). What is not to love? Molly and I have been busy doing all things Easter the last week or so and our house is covered in bright and cheerful crafts and activities. It all just makes my heart so happy. I plan on sharing these crafts and activities a little different than what I did with St. Patrick's Day ones. I am going to have several posts over the next week few weeks sharing what we have been doing. Each post will have one or two related activities that you can do at home. Hopefully this will make it a little less overwhelming and easier to read. 

I wanted to start my Easter crafts and activities off with a product that I made yesterday. I started making this yesterday because I wanted to be able to introduce the story of Easter to my daughter, Molly. Once I got going, a quick and easy project turned into a much bigger one and I was making all kinds of stuff. I think this product is great because there are activities for kids of all ages. 


Here is a quick summary of everything included in this product. It is 50% off for the next 48 hours on Teachers Pay Teachers. Click on picture to purchase this product.  


I hope you enjoy this! Please let me know if there is anything in particular that you would like for me to make.

Tomorrow I will be posting about a some adorable Easter hand prints and foot prints. See you then!